Ever had paint drip down your wall mid-stroke? It ruins the whole project. You wipe it away, but streaks linger. Loading a brush with the correct amount of paint fixes that fast.
Too much paint causes runs and waste. Too little leaves thin spots that need extra coats. Beginners often struggle here. They end up with messy results or hours of cleanup. But it does not have to be that way.
This guide shows you why it matters. You will learn tools to pick, a simple step-by-step process, common mistakes to dodge, and pro tips. After you follow along, your walls or furniture will look smooth and even. You will save time, paint, and frustration. Let’s get your brush ready for success.
Why Loading Just the Right Amount of Paint Changes Your Results
Too much paint on your brush spells trouble. Drips form right away. Runs streak down surfaces. You waste paint and spend extra time fixing errors. For example, a full-loaded brush on a wall creates blobs. They dry uneven and hard to sand.
On the other hand, too little paint skips coverage. You see brush marks or bare patches. Then you add coats. That means longer drying times and more effort. Your project drags on.
The right amount brings smooth finishes. Paint spreads even without effort. Drying happens faster because layers stay thin. Cleanup takes less time too. No excess to scrub off.
Think about painting a room. Correct loading cuts your work in half. You finish quicker with pro results. DIYers save money this way. No need for pricey touch-up supplies.
Beginners gain confidence fast. One even coat beats multiple sloppy ones. Your furniture piece gleams without runs. Walls stay crisp. Results look store-bought.
In short, proper loading transforms projects. It boosts efficiency and pride in your work.
Choose the Best Brush and Understand Your Paint
Pick the right brush first. It holds paint better. Angled sash brushes work great for trim. Flat ones cover walls fast. Match bristle type to your paint too. That prevents overloads.
Synthetic bristles suit latex paints. They clean easy and hold water-based formulas well. Natural bristles like hog hair absorb oil paints. They release color smoothly.
Prep your paint next. Stir it thoroughly. Bubbles or lumps cause uneven loads. Thin paints need light dips. Thick ones demand more wipe-offs.
Know Your Brush Bristles and Sizes
Nylon or polyester synthetics flex for latex. They shed less paint in hot weather. Natural China bristle suits oils. It fans out for even strokes.
Size matters for the job. Use a 2-inch brush for walls. It carries enough without dripping. A 1/2-inch works for edges. Stiffer bristles hold less paint. Soft ones soak up more, so wipe extra.
Test hold before starting. Dip and shake. Good brushes keep paint in without flying drops.
Paint Consistency Is Key
Check thickness with a stir stick. Thick paint clings heavy. Dip shallow and wipe well. Thin paint flows easy. It needs less removal.
Strain old paint if needed. Smooth flow means even loading. Adjust every time. Your results stay consistent.
Step-by-Step: Load Your Brush for Perfect Coverage
Protect your space first. Lay drop cloths. Wear old clothes. Keep a rag handy. Practice on scrap wood. Now follow these steps each time.
- Stir the paint well. Use a clean stick. Scrape sides of the can. This mixes color even.
- Hold the brush at a 45-degree angle. Dip only the bottom third of bristles. Push in quick. Pull out straight. Full dips overload fast.
- Wipe on the can rim. Do both sides gentle. No hard scrapes. They dry the brush.
- Twist on a clean rag. Fan the bristles out. Paint spreads uniform. No clumps show.
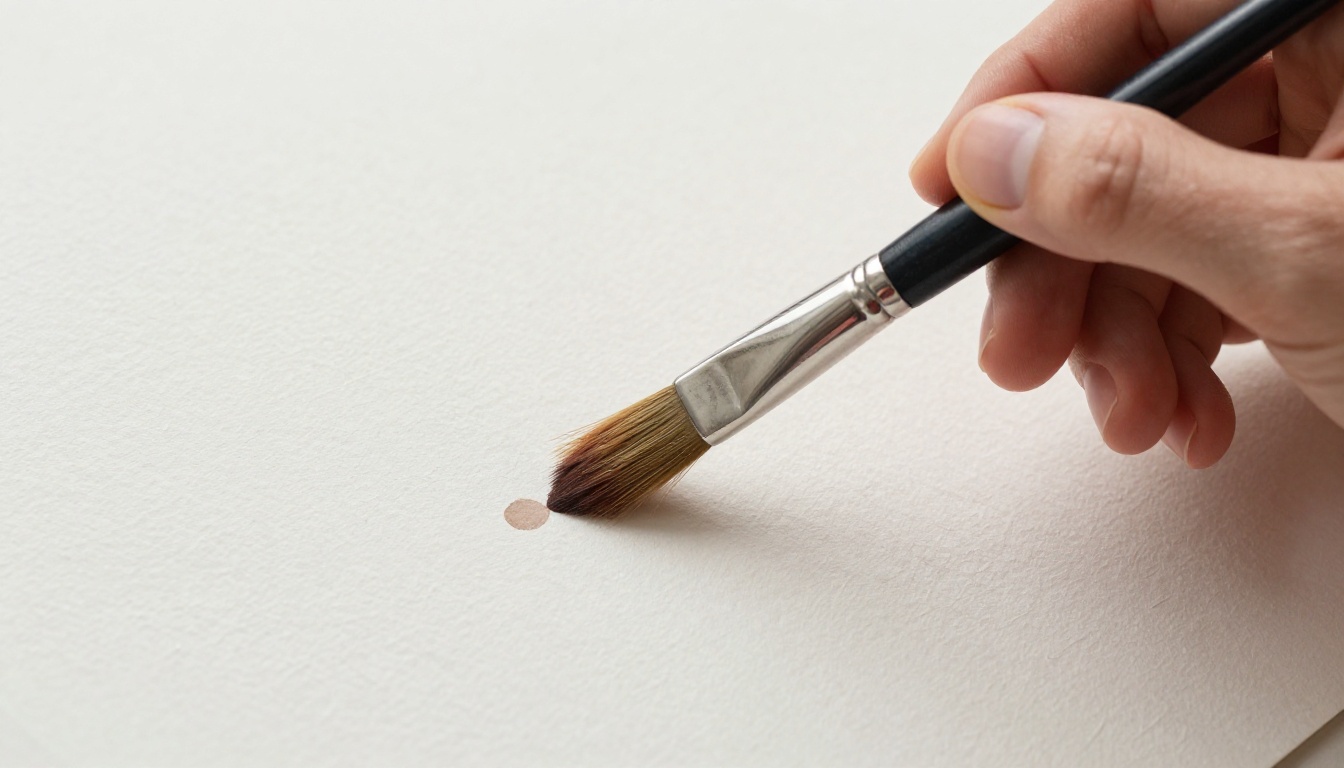
- Test on scrap. Draw a line. It should flow smooth. No drips or skips mean you nailed it.
Repeat as needed. Keep strokes long at first. Reload often for fresh paint.
Dip Only the Bottom Third of the Bristles
Why this depth? It avoids globs. Bristles stay flexible. Angle helps control. Quick dip takes seconds. Shake light after. Excess falls off.
Wipe Gently on the Paint Can Edge
Rim catches drips best. Press soft, not mash. Both sides balance load. Brush stays moist. Ready for walls.
Twist and Fan to Spread Paint Evenly
Rag or bucket edge works. Twist spreads inside out. Fan checks wetness. Even shine means good. Clumps signal more wipe.
Test Stroke on Scrap Material First
Cardboard or wood tests true. Smooth line proves amount right. Adjust dip if skips happen. Drips call for more wipe. Builds your skill quick.
This method works for any surface. Practice makes it habit.
Steer Clear of These Top Beginner Mistakes
New painters dip deep every time. Paint pours off. Mark your brush with tape. Set the third-bristle line. It guides you consistent.
Many skip wiping. Blobs form on walls. Always swipe both sides. Gentle pressure keeps flow right.
Paint type trips folks up. Latex needs light loads. Oil holds more, so wipe less. Test small areas first. See the difference.
Dry paint clogs brushes. Stir vigorous or strain it. Fresh mix loads smooth. No lumps ruin strokes.
Dipping Too Deep Every Time
Tape marks solve this. Visual cue stops overload. Your walls thank you.
Skipping the Wipe Step
Blobs waste paint. Two-side wipe prevents them. Habit saves time.
Not Adjusting for Paint Type
Latex drips easy. Oils stick. Lighten loads for water-based. Practice switches.
Working with Dry or Clumpy Paint
Stir first. Strain chunks. Smooth paint loads perfect.
Dodge these, and your projects shine.
Extra Tips to Make Brush Loading a Breeze
Add paint conditioner for latex. It thins just right. Flows even without drips.
Rotate brushes often. Fresh side holds better. Comb them between dips. Straightens bristles.
Clean midway if breaks happen. Rinse and reload. Keeps quality high.
Practice drills help. Load and stroke on boards daily. Muscle memory kicks in.
Use bucket screens. They wipe better than rims. Less mess overall.
Store brushes flat. They stay shaped. Ready next time.
These tweaks speed you up. Enjoy painting more.
Getting the right amount on your brush leads to flawless finishes every time. You avoid drips, waste, and redo work. Follow the steps, pick good tools, and skip those pitfalls.
Grab your brush today. Paint that room or shelf. Share your before-and-after photos in the comments. What project comes next? Subscribe for more easy DIY tips. You got this.