You stand before a stunning mountain vista. The sun dips low, painting the sky in oranges and pinks. You snap the shot, excited to review it later. But when you do, the photo falls flat. Nothing grabs your eye; it just looks like a pretty postcard without a story.
That’s the trap of many landscape shots. A focal point acts as the star that pulls viewers in. It guides their gaze and adds depth or emotion. Without one, even beautiful scenes feel empty.
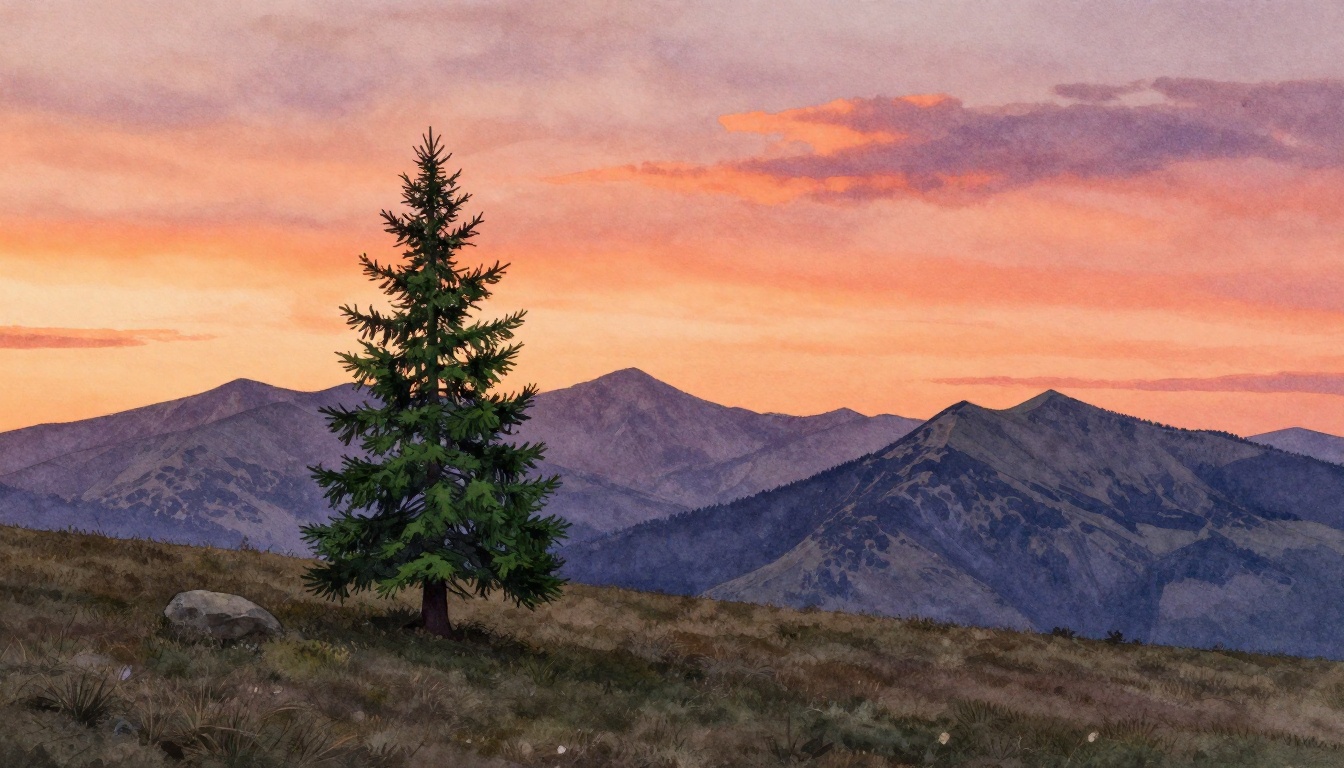
The best way starts simple: seek high-contrast elements. Think a bright tree against a dark sky or a lone rock in an open field. These natural standouts create instant interest. In this guide, you’ll get step-by-step tips to spot, place, and enhance them. You’ll end up with sharper compositions that earn more likes and shares.
Spot Natural Focal Points That Steal the Show
Pros scan a scene fast. They hunt for elements that demand attention. Contrast in color, light, or shape makes these pop right away. Your eye goes there first because it differs from the rest.
Start by asking yourself what stands out. Does a fiery tree in sunset glow catch you? Or a white waterfall slicing through green forest? Maybe a river bend curves into view. These happen naturally, so you don’t force anything.
Walk around the spot. Shift your angle ten feet left or right. Hidden gems appear, like a distant peak piercing clouds. Use a mental checklist. Is it unique? Does it break from the background? Yes means it’s your focal point.
This method beats adding fake elements later. Nature provides plenty if you look. For example, in a meadow, a single wildflower tower might rise amid grass. It tells a story of quiet strength. Practice this, and your shots gain purpose fast.
Hunt for Color and Light Clashes
Bold colors clash and win every time. Red leaves glow against blue dusk. Golden light hits dark cliffs, creating sparks. These draw eyes because humans notice differences quick.
Value contrast works too. Bright spots shine in shadows. A sunlit boulder gleams amid dim woods. Shoot during golden hour. That soft light boosts these clashes without effort.
Try Yosemite’s waterfalls. White foam stands out in granite gray. Or check your backyard at dawn. Dew on one flower sparkles while others dull. Stand still for a minute. Note what your eye hits first. That’s your clue.
Busy colors confuse, though. Too many bright spots scatter attention. Pick one hero. Let it rule the frame.
Find Isolated Elements That Stand Alone
Single items break patterns best. A solitary barn dots empty fields. A twisted tree guards a cliff edge. An animal pauses mid-stride. Space around them builds power.
Cluttered scenes fail here. Too many shapes compete. Isolation creates emotion, like loneliness in vast deserts or triumph on peaks.
Zoom out mentally. See the emptiness first. Then the subject pops. A lone fisherman on a misty lake tells tales of patience. Pros love this because it adds mystery.
Next time, frame tight on that one element. Watch how the photo transforms.

Place Your Focal Point Where Eyes Can’t Resist
You found your star. Now position it smart. Off-center spots create balance. The rule of thirds guides this.
Imagine a grid over your viewfinder. Divide the scene into thirds both ways. Place your focal at intersections. It adds energy over dead center.
Leading lines help too. Paths or rivers point straight to it. Branches frame like a window. Test in your camera. Flip between spots. Eyes follow naturally because brains scan this way.
Before and after helps. Center a peak, and it bores. Shift to thirds, and mystery grows. Practice builds instinct.
Master the Rule of Thirds for Perfect Balance
Draw the lines in your mind. Horizontal for horizons, vertical for subjects. A mountain peak sits at the top-right cross.
Center kills tension. Off-center invites exploration. Enable the grid on your phone or camera. Snap and compare.
Sunsets work great. Place the glowing tree lower third. Horizon follows the line. Balance feels right.
Draw Eyes with Leading Lines and Frames
Roads snake toward your rock. Waves crash in from edges. They pull viewers along.
Natural frames add depth. An archway reveals a distant cabin. Overhanging branches spotlight a falls.
Trace with your finger. Does the line lead clear? Good. If it veers off, reposition. Avoid distractions.
Boost Your Focal Point to Pro Heights
Time matters most. Hit golden hour for glow on your subject. Blue hour adds mood with soft blues.
Lens choice shifts drama. Wide-angle shows scale around a tiny tree. Telephoto squeezes in, making it huge.
Edit light. Dodge the focal area brighter. Add vignette to darken edges. Keep it subtle.
Weather helps. Mist softens backgrounds. Storm clouds highlight one beam of light. Gear stays basic; practice rules.

Time It Right and Pick the Right Lens
Dawn or dusk paints your focal best. Colors pop without harsh shadows.
Wide lenses (16-35mm) give context. A small hut dwarfs in mountains. Tele (70-200mm) isolates, compresses space.
Shoot low for grandeur. High angles freshen views. Experiment quick.
Polish in Post Without Overdoing It
Use Lightroom sliders. Boost saturation on the focal color. Up contrast there too.
Vignette pulls eyes in. Before shots look flat; afters sing. Enhance nature, don’t invent.
Dodge These Traps That Ruin Focal Points
Multiple stars cause chaos. Pick one; blur or crop the rest.
Horizons alone bore. Add a contrasting ship or tree.
Bad light washes out. Wait or edit smart.
Center stiffens shots. Shift every time.
Don’t Let Clutter Steal the Spotlight
Busy foregrounds fight back. Crop tight or step aside. One hero wins.
Simplify ruthless. Empty space empowers.
Skip Centered Subjects Every Time
Center equals static. Thirds add life.
Flip the photo upside down. Eye hits focal first? Success.
Spot contrast first. Place with thirds and lines. Boost with light and edits. Dodge clutter.
Reshoot an old flat photo. Apply these steps. Share your before and after in comments. What changed most?
Your best shot hides in that overlooked detail. Go find it.