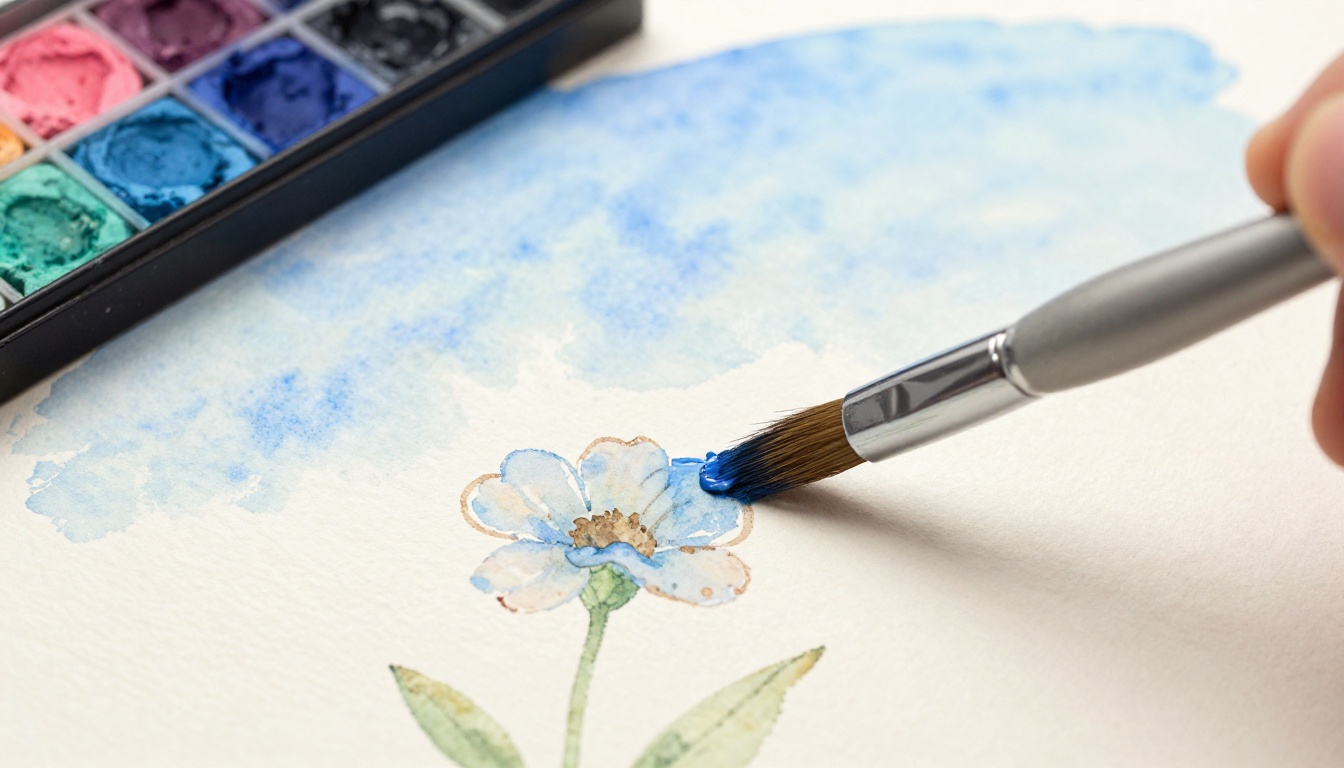
Picture this. You’re halfway through a serene sky painting. Your brush glides in fresh blue. Then disaster strikes. A wet edge meets more water. Suddenly, a muddy flower shape blooms outward and ruins the scene.
That’s a watercolor blossom or backrun. It happens when excess water pushes pigment into ugly rings or feathery edges. These mishaps frustrate beginners and pros alike. But don’t toss your paper yet. You can salvage most spots without starting over.
This guide shares the single best fix. It uses simple lifting techniques to rescue blooms in minutes. You’ll get easy steps, basic tools, and prevention tips too. Fresh mistakes respond fastest. Older ones work with patience. Ready to save your next painting?
Spot the Cause: Why Blossoms Happen in Your Watercolors
Blossoms form fast. Wet paint meets extra water. Pigment spreads like coffee soaking a napkin. You see rings or feathers where you want clean edges.
Top triggers include adding water to drying areas. Or overloading your brush. Cheap paper fails to hold moisture. Humid rooms slow drying too. Spot these causes first. That helps you fix and avoid them next time.
For example, beginners often paint leaves. They touch a semi-dry edge with a wet brush. Pigment flees in lines. Knowing why matters. It builds confidence.
Too Much Water on Drying Paint Edges
Semi-dry paint has a fragile edge. A wet brush touches it. Pigment pushes away in feathery blooms.
Think of painting a tree line. You add green to the top. The bottom dries a bit. Your next stroke blooms the edge. Test dryness lightly with your finger. No shine means wait longer. This simple check stops many issues.
In addition, fresh layers need time. Rush them and backruns follow. Patience pays off here.
Paper and Brush Mistakes That Invite Trouble
Thin paper buckles under water. It blooms easy. Switch to 300gsm cold press. It holds better.
Brushes drip after rinsing. Excess water causes runs. Blot them on a towel first. Press sides gently. No squeezing.
Cheap towels leave lint too. Use viva towels or paper ones. They soak without mess. These swaps make a big difference.
Environment Factors Speeding Up the Bloom
High humidity slows drying. Cool air does the same. Your paint stays wet longer. Backruns worsen.
On rainy days, I once lost a whole sky. Paint pooled and bloomed everywhere. Use a fan on low. Or a hairdryer cool setting. They speed things up safely.
Meanwhile, warm dry rooms help. Open a window if needed. Control your space for smoother sessions.
Your Go-To Fix: Lift and Rescue the Blossom in Minutes
The best fix lifts pigment right away. Use thirsty paper and minimal water. It works on fresh blooms best. Older ones fade with repeats.
You’ll need clean water, a synthetic mop brush, paper towels, and optional salt. Practice on scrap paper first. No scrubbing. That damages fibers.
This method salvages 90% of spots. Imagine a muddy blue ring. Minutes later, it’s gone. Or blended smooth.
Follow these steps. Stay gentle. Results impress.
Step 1: Blot Excess Right Away
Act fast. Press a dry towel on the bloom. Soak up water and loose pigment.
Lift straight up. No rubbing. Rubbing spreads color worse. Repeat with fresh towel spots.
For example, a fresh backrun soaks quick. Most lifts in one go. Patience keeps paper safe.
Step 2: Lift with Clean Water and Brush
Dip your mop brush in clear water. Touch the bloom edge lightly. Water dilutes pigment.
Blot immediately with towel. Color transfers off. Repeat touches and blots. Watch it fade.
Salt helps stubborn spots. Sprinkle a pinch. It pulls pigment up. Blot after 30 seconds. Don’t overdo salt. It textures paper.
Go slow here. Ten minutes max for big blooms.
Step 3: Dry and Blend Back In Smoothly
Let the area dry fully. No touch until matte.
Glaze a thin layer over it. Match your sky or leaf tones. Use a damp brush to soften edges.
Feather outward. Blend into good areas. Now it looks planned. Pros use this trick often.
Test on scraps. Build speed with practice.
Watch pigment lift from a backrun edge during blotting.
Prevent Backruns Forever with These Artist Secrets
Fixes save paintings. Prevention builds skill. Plan ahead for worry-free sessions.
Choose tools right. Control your brush. Layer smart. Pros like it this way. You’ll save time and frustration.
These habits stick after a few tries. No more muddy surprises.
Choose the Right Paper and Prep It
Go for 140lb or heavier. Cold press grips best. Thin sheets fail fast.
Stretch paper for big works. Soak it. Tape down tight. No buckling means fewer blooms.
Prep pays. Your edges stay crisp.
Master Brush Loading and Dry Time Checks
Load brushes half full. Tap off excess. Blot sides on towel.
Wait for the sheen to fade. That’s your dry signal. Add next layer then.
This control stops 80% of runs. Simple but key.
Build Control with Layering Techniques
Work light to dark always. Dry brush edges for texture.
Mask whites with fluid. Peel later clean. No blooms near highlights.
Layer thin. Let each dry. Confidence grows fast.
Test paper dryness before the next layer.
Turn Blossoms into Wins
You now know the top fix. Blot fast. Lift with water and brush. Blend dry areas smooth.
Prevention seals it. Pick good paper. Load brushes right. Layer with care.
Blossoms hit everyone. Pros fix them quick. Practice on scraps today. Try it next session.
Share your before-and-after in comments. What painting will you save first? Your skills just leveled up.