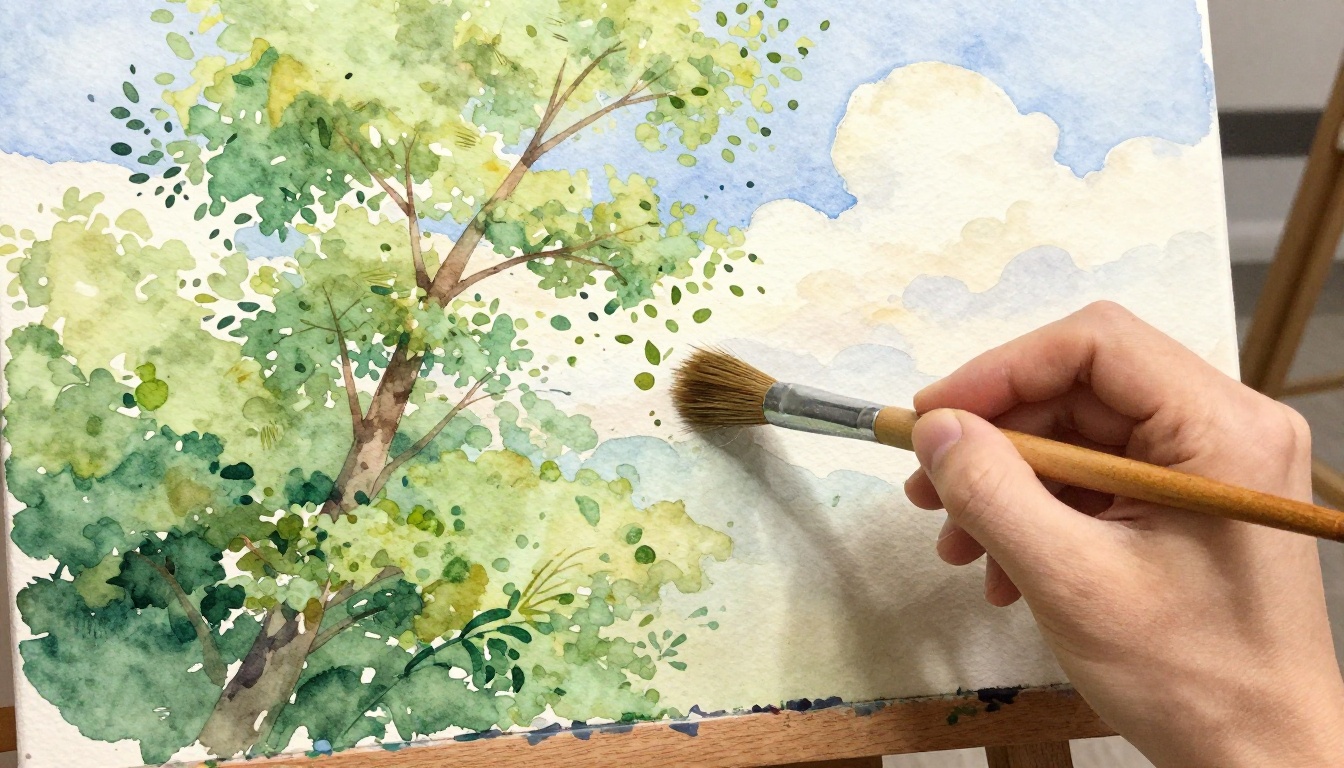
Picture this. You sit at your easel on a quiet afternoon. Your canvas shows a simple horizon. Then you pick up a fan brush. Suddenly, trees burst with leafy texture. Clouds puff up soft and full. That splayed bristle tool makes it happen fast.
Many painters struggle with stiff, flat foliage or boxy skies. Round brushes create round blobs. Flat ones leave harsh lines. But the fan brush changes everything. Its thin, spread-out hairs mimic nature’s messiness. You get irregular edges for leaves and wispy cloud trails. Beginners love its forgiveness. Pros appreciate the speed.
In this guide, you’ll learn step-by-step how to wield it. First, we’ll cover why it beats other brushes and how to pick one. Next, build lifelike trees from trunk to canopy. Then, craft fluffy clouds that float right. Finally, pro tips tie it all together. Grab your paints. Let’s make landscapes that pop.
Why a Fan Brush Transforms Your Tree and Cloud Paintings
Fan brushes stand out because their bristles fan open like fingers. This shape grabs paint in uneven amounts. You get soft breaks and feathery edges every time. Round brushes clump paint into dots. Flat brushes drag straight lines. So the fan excels at organic forms.
For trees, it builds full clusters without overworking. Clouds form with light taps that fade naturally. You cover large areas quick. No need for extra stippling tools. It works across mediums too. Acrylics dry fast for crisp layers. Oils blend smooth. Watercolors stay loose.
Think of a pine tree. A fan brush flicks out needles in seconds. Or fluffy cumulus clouds. Gentle dabs create volume. Results look hand-drawn, not mechanical.
| Brush Type | Best For | Tree/Cloud Fit | Speed |
|---|---|---|---|
| Fan | Texture, edges | Excellent | Fast |
| Round | Details | Fair | Slow |
| Flat | Blocks | Poor | Medium |
This table shows the edge. Fan brushes win for landscapes. They save time and add realism. So dust off yours or buy one today.
Choosing the Best Fan Brush Size and Material
Size matters first. Small fans, about 1/4 inch wide, handle fine branches or distant puffs. Medium ones, 1/2 inch, suit most foliage. Large, 1 inch plus, cover broad canopies or big skies.
Go synthetic for starters. They cost less and clean easy with soap. Natural hog hair shines in oils. It holds more paint and fans better. Stiff bristles give control. Soft ones flop.
Brands like Princeton offer good options. Royal & Langnickel holds shape well. Test in store. Fan it out. It should spring back without clumping. Skip dollar-store ones. They shed hairs mid-stroke.
Quality pays off. A solid fan lasts years. It boosts your confidence from the start.
Quick Prep Tips for Your Brush and Paints
Prep keeps strokes clean. Load lightly always. Dip just the tips in paint. Wipe excess on a rag. Blobs ruin texture.
Mix tree colors ahead. Start with sap green and yellow oxide. Add burnt umber for trunks. For clouds, mix titanium white with ultramarine blue. Touch of Payne’s gray for shadows.
- Wet your canvas with a sky wash. Blues fade to horizon.
- Squeeze paints on palette. Keep moist with spray bottle.
- Fan your brush in water. Shake dry.
Work in good light. Use ventilation if oils smell strong. Now you’re set. Strokes flow smooth.
Master Fan Brush Strokes for Lifelike Trees
Trees start simple. But layers make them breathe. The fan brush lets you build fast. Use loose wrist flicks. Keep your arm relaxed. Pressure varies texture.
Build from bottom up. Trunk first grounds it. Branches spread out. Foliage fills space. Dry brush over wet adds depth. So practice on scrap paper. Feel the bounce.
Real trees inspire. Pines stay sharp. Oaks clump round. Match that with your flicks.

Close-up of trunk and branch strokes using a fan brush.
Starting with Strong Trunks and Branches
Block the trunk with flat edge. Load burnt sienna. Drag upward slow. Vary pressure. Light at top tapers it.
For branches, side-load the brush. Fan slightly. Pull at angles. Use raw umber. Short strokes for twigs. Longer ones fork out.
Tip works best. Twist for knots. Darken base. Fade tips. Branches look real now. They support the green mass.
Creating Full, Textured Foliage Clusters
Fan the brush full. Pounce light. Up and down motions cluster leaves. Use sap green. Add lemon yellow tips.
Layer darker viridian underneath. Lighter greens on top. Dry brush highlights. Stroke side to side for wind sway.
Vary directions. Some strokes go left. Others right. Clusters form natural shapes. No two the same. Foliage feels alive.
Layering Shadows and Highlights for Depth
Depth comes last. Add shadows with cool blues in green mixes. Place under branches. They recede.
Warm ochre highlights catch sun. Dab sparse. Blend with clean, damp fan. Wipe excess first.
Muddy spots? Lift with dry brush. Scrub gentle. Colors pop. Your tree stands in space.
Effortless Techniques for Painting Fluffy Clouds
Clouds pair perfect with trees. Paint sky around them. Soft motions rule here. Circular taps build puffs. Load minimal paint. Edges stay crisp.
Study types outside. Cumulus puff high. Stratus streak low. Fan brush nails both. Wet-into-wet softens blends.
Build on tree skills. Foliage blocks define shapes. Clouds peek through gaps.
Laying the Base Sky and First Cloud Shapes
Gradient sky first. Wet canvas top to bottom. Blues lighten down. Cobalt at zenith. Prussian near ground.
Tap clouds light. White plus blue tint. Fan perpendicular. Puffs emerge. Space them uneven.
Sizes vary. Big foreground. Small distance. Base sets mood.

Base sky and first cloud taps in action.
Refining Edges and Adding Volume
Soften bottoms. Damp clean brush feathers down. Highlights lift with dry fan. White dabs glow.
Add grays for form. Ultramarine mix. Undersides darken. Volume rounds them out.
Crisp edges top. Blur bottoms. Clouds lift off canvas.
Blending Clouds into the Horizon Seamlessly
Feather edges to sky. Light strokes match tones. Horizon grays tie down.
Match tree distance. Far clouds thin. Near ones bold. No flat look.
Subtle Payne’s gray varies. Scenes unite smooth.
Pro Tips to Elevate Your Fan Brush Landscapes
Blend trees and clouds smart. Overlap subtle. Trees pierce bases. Foreground grass adds interest.
Common fixes matter. Too much paint? Wipe and reload light. Stiff strokes? Loosen grip.
Composition helps. Place trees off center. Rule of thirds guides eye. Autumn reds vary greens. Storm grays darken blues.
Practice project: 9×12 landscape. Trees left. Clouds right. Finish in one hour.
Avoiding Muddy Colors and Harsh Lines
Clean often. Rinse between layers. Palette knife mixes clean.
Use retarder in acrylics. Blends stay wet. Harsh lines? Dampen and soften.
Combining Trees and Clouds for Stunning Scenes
Overlap light. Add birds or path. Balance fills canvas. Scenes tell stories.
Your turn now. Experiment free.
Master the fan brush, and landscapes simplify. You build texture fast. Trees gain life. Clouds float real. Confidence grows with each stroke.
Pick up your fan tonight. Paint that scene. Share photos on Instagram. Tag friends. What tree type calls you next? Pines or maples? Keep practicing. More awaits, like distant hills. Happy painting.