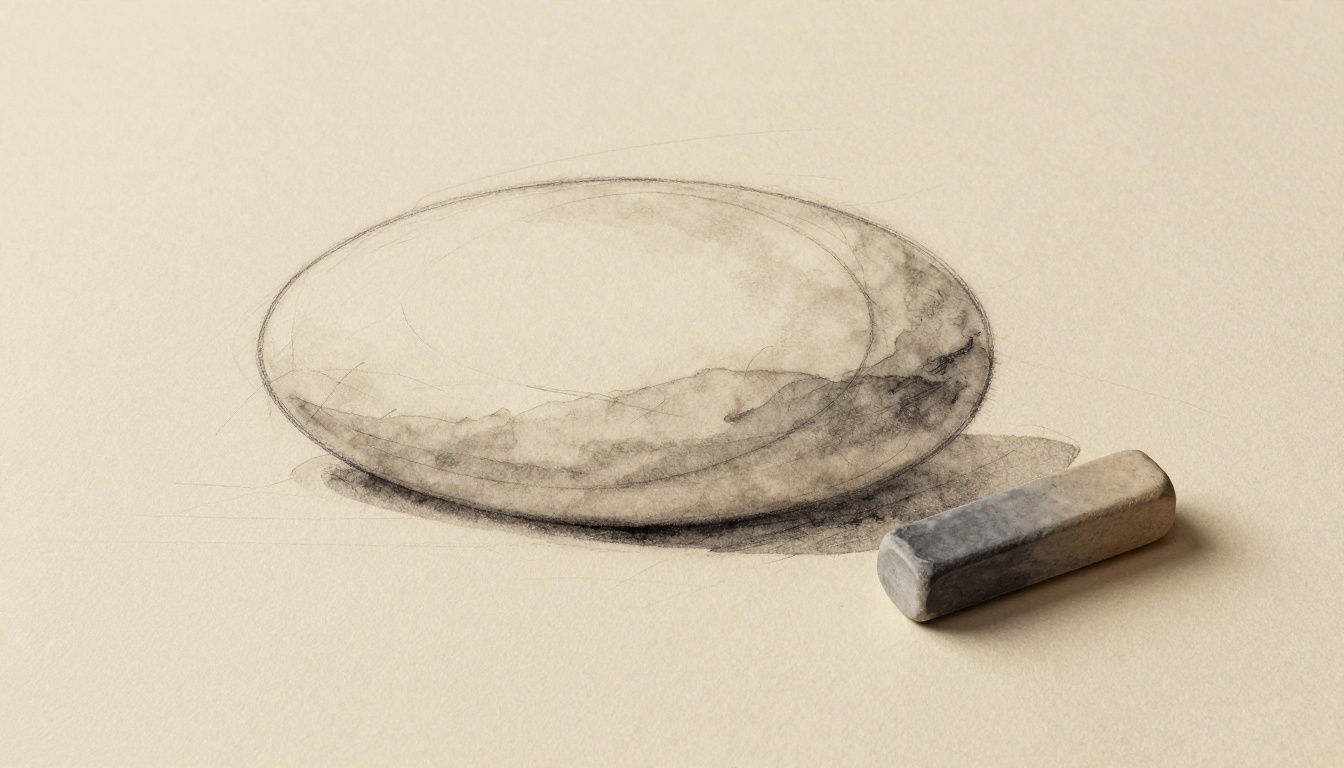
Ever stared at a blank canvas and felt that mix of excitement and nerves? You want to paint something amazing, but where do you start? That’s where mapping out comes in. It means creating a light charcoal sketch on your canvas to plan basic shapes, composition, and layout before you add paint.
This approach saves time and frustration. Charcoal lines erase easily, so you build confidence without fear of mistakes. Plus, it prevents costly errors like wrong proportions that ruin a painting. You’ll end up with a solid guide under your colors.
In this guide, we cover everything from supplies to step-by-step mapping. You’ll learn simple techniques that pros use too. Grab your charcoal and canvas now. Let’s turn that blank space into your vision.
Gather Simple Supplies to Get Started Right
Start with the right tools. They make sketching smooth and fun for beginners. You don’t need fancy gear. Focus on basics that work well.
Here are the must-haves:
- Vine or compressed charcoal sticks: Soft ones for broad, light marks that erase clean.
- Kneaded eraser: Pulls charcoal away without rubbing or damaging the canvas.
- Chamois cloth or blending stump: Softens edges for subtle tones.
- Fixative spray: Locks in your sketch so it doesn’t smudge under paint.
- Primed canvas: A 16×20 inch stretched one gives plenty of space to practice.
- Optional: Craft knife for sharpening charcoal, plus newsprint for practice sheets.
Vine charcoal costs little and wipes off fast. Buy it at art stores or online for under $10 a pack. If budget’s tight, use a soft pencil as a sub, but charcoal grips canvas better. Set up in a clean spot. Lay down drop cloths because charcoal dust spreads.
These items total around $30. They last for many sketches. Now you see why pros swear by them.
Pick the Best Charcoal for Sketching
Choose vine charcoal first. It stays light and erasable, perfect for mapping. Compressed charcoal works too, but it’s bolder and harder to lift.
Vine comes in soft, medium, or hard. Go medium for control. It dusts a bit, so tap sticks often. Sharpen ends with a craft knife for fine lines. Avoid willow types; they snap easy.
Start light always. Heavy marks trap you later.
Other Tools That Make Sketching a Breeze
Kneaded erasers shape to lift spots clean. Don’t rub; it smears. Blending stumps or your finger (with clean hands) smooth tones soft.
Prep your workspace. Wipe tools between strokes. If canvas feels slick, a light gesso coat helps charcoal stick. These extras prevent headaches.
Prime Your Canvas for a Smooth Charcoal Base
A good surface matters. Charcoal flakes on rough or dirty canvas. Prep takes minutes but pays off big.
Pick a primed, taut canvas. Gesso covers it already, but check. Sand light if texture bites too much. Use 220-grit paper for smoothness.
Wipe with a damp cloth next. Dry dust hides and causes skips. Let it air dry five minutes. Tape edges with painter’s tape. It protects from stray marks.
Tilt the canvas under light. Check for even tone. Bumps show now, not mid-sketch. Wait 30 minutes if you add fresh gesso. Then charcoal glides on.
This step stops frustration. Your lines stay crisp for painting later.
Learn Key Charcoal Techniques Before You Dive In
Master basics first. Practice on scrap paper. It builds hand skills fast.
Hold charcoal loose, like a fat pencil. Use light pressure for faint lines. Broad side makes soft areas. Tip draws sharp edges.
Hatching adds tone: short parallel lines. Cross-hatch for depth. Blend with stump right after. Erase to lift highlights.
Do drills daily. First, draw circles freehand. Feel the flow. Next, sketch boxes in perspective. Then loose figures from photos.
These warm-ups create muscle memory. You sketch confident on canvas. Keep marks loose. Perfection kills energy.
Build Loose Shapes with Gesture Lines
Gesture lines capture essence quick. Think fruit bowl. Scribble fast curves for form. No details yet.
Flow matters. Energy shows in wiggly strokes. Proportions come natural. Practice five poses a day.
Layer Light Tones Without Overcommitting
Stroke side of charcoal for grays. Blend soft with chamois. Keep it faint. Paint covers easy.
Test tones on scrap. Dark spots commit too soon. Light layers let you adjust.
Follow This Step-by-Step Plan to Map Your Composition
Ready for the canvas? Follow these steps. They guide you to a balanced sketch. Use a simple landscape as example: hills, tree, path.
- Plan thumbnails on paper. Draw 2-3 inch versions. Test layouts fast. Pick the best one.
Thumbnails spot issues early. Crop views with your hand. Choose dynamic angles. 2. Transfer major shapes lightly. Freehand or grid lightly. Mark big forms: horizon first.
Grid helps accuracy. Divide photo and canvas same. Connect points faint. 3. Block in proportions. Draw guidelines: verticals for balance, horizontals for levels. Check midway with pencil length.
Step back every five minutes. View from arm’s length. Squint to see shapes. 4. Refine vaguely. Add curves to hills. Suggest tree branches. No leaves yet.
Work big to small. Gesture keeps it alive. 5. Check overall. Walk back ten feet. Balance? Adjust now. 6. Erase and tweak. Lift extras. Soften edges. Clean ghost lines. 7. Fix lightly. Mist fixative from 18 inches. One pass holds it.
This plan takes 30-45 minutes. Fears fade with practice. Your canvas guides paint perfect.
Start Small with Thumbnail Planning
Grab small paper. Sketch three ideas quick. Vary crops: close-up path or wide hills.
Best one wins. Saves canvas heartaches.
Transfer and Block In Your Big Shapes
Freehand if bold. Grid for safety: faint lines vanish later. Largest shapes anchor all.
Avoid These Traps and Nail Your First Sketch
Beginners press hard. Lines won’t erase. Always feather light.
Over-detail early kills flow. Block shapes only. Details come in paint.
Proportions go wonky without checks. Smudges happen from dirty hands. Wipe often.
Work light to dark. Use viewfinder: frame with hands. Mindset helps: it’s a map, not final art.
Practice 15 minutes daily. Progress shows fast.
How to Spot and Fix Wonky Proportions
Hold pencil thumb-out. Compare head to body. Plumb line: hang string vertical.
Measure angles too. Fixes tilt heads or short limbs.
Ready to Paint Over Your Charcoal Map
You now know supplies, prep, techniques, steps, and fixes. Mapping builds your base strong.
Grab that canvas today. Sketch a scene you love. Paint follows easy.
Share your first try in comments. What did you map? Joy comes from creating. Keep going.