Picture this. You just finished a vibrant landscape on canvas. You step back to admire it. Then you spot a tiny speck of dust stuck right in the middle of your richest blue sky. Your hand twitches to wipe it away. But you pause. Wet paint smears so easily.
Wet paintings stay fragile for hours, sometimes days. Dust, lint, or pet hair can embed deep into the surface. A quick swipe often turns a small flaw into a big mess. Colors bleed. Textures ruin. Yet you don’t need to panic. Simple steps let you clean safely without harm.
This guide walks you through it all. First, understand the risks. Next, gather the right tools. Then follow exact methods to lift debris. You’ll also learn pitfalls to dodge and ways to prevent future issues. These tips work for acrylics, oils, and watercolors. Anyone can save their art with care. Let’s keep your next masterpiece spotless.
Why Wet Paint Cleanup Calls for Patience and Care
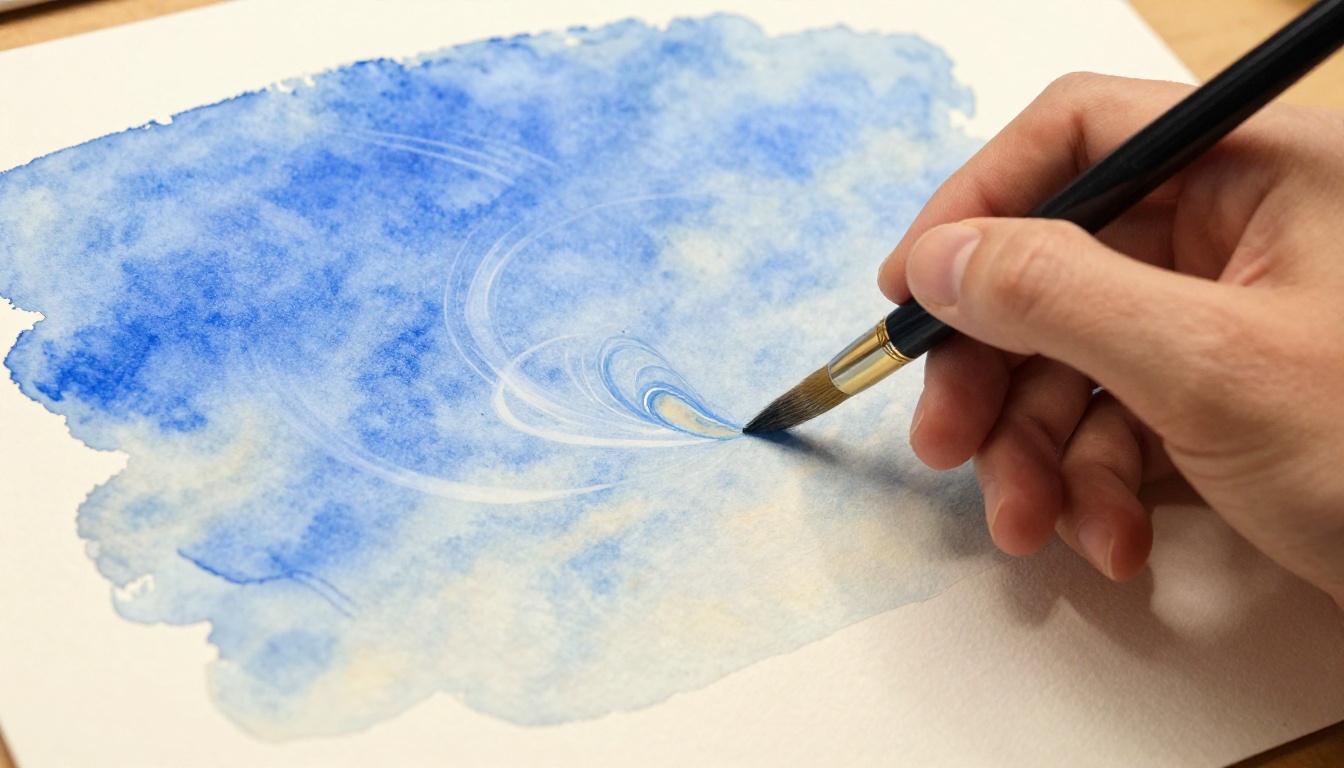
Wet paint behaves like soft clay. It molds under pressure. Rough touches smudge colors or leave scratches. Acrylics dry fast but stay tacky. Oils need solvents, so they feel slick and delicate. Watercolors spread with any moisture.
Common debris sneaks in from everywhere. Airborne dust floats from open windows. Pet hair drifts across studios. Lint clings from your clothes. Studio particles like dried paint flecks add up. These bits alter shine or create bumps.
Risks hit hard. Colors might bleed into clean areas. Textures turn uneven. Permanent marks scar the work forever. Think of fresh cookie dough. Poke it wrong, and the surface dents forever. So handle wet paint the same way.
Sometimes, wait it out. If drying nears, debris might fall off alone. This avoids damage. Patience pays off here. In short, care now saves heartbreak later.
Spotting Debris Before It Settles In
Good light reveals hidden specks. Tilt your canvas at an angle. Use a desk lamp or window glow. A magnifier helps for tiny bits.
Wet paint grabs particles fast. Dry paint lets some shake free. Check for signs like dull spots or texture shifts. Specks change how light reflects.
Assess first. Note size and stickiness. Loose dust blows easy. Sticky bits need precision. This choice guides your method. Act quick, but think ahead.
Stock Up on Gentle Tools That Won’t Harm Your Art
Start with basics that touch soft. A rubber blower bulb pushes air without contact. Canned air works too, but short bursts only. Pick a soft camel-hair brush, size 0 or 2. Synthetic ones mimic it well.
Add lint-free microfiber cloth. It absorbs without fibers. For bigger pieces, grab wooden toothpick or fine tweezers. Optional anti-static spray cuts future cling.
Each tool stays dry and clean. No oils or rough edges. They lift, not scrape. Find them at art stores or online basics. Costs stay low, under $20 total.
These picks suit beginners. They prevent added dirt. Stock up now. You’ll use them often.
Budget-Friendly Picks for Every Artist
Swap in everyday items. A clean makeup brush sweeps gently. Set your hair dryer to cool, low speed for blowing.
Skip fingers. They leave oils. Paper towels shred and scratch. Vacuums pull too hard.
Always use clean, dry tools. This stops new mess. Save money, stay safe.
Step-by-Step Guide to Whisk Away Dust Safely
Prep your space first. Lay down clean newsprint. Work in still air. Test any method on a scrap edge. This checks for issues.
Most cleanups take under five minutes per spot. Stop if paint shifts. Better to wait than ruin. Follow order: blow, brush, then precision.
These steps fit acrylics, oils, and watercolors. Adjust touch per type. Oils need drier tools. Watercolors want softer strokes.
Start by Blowing Loose Particles Away
Hold canvas upright. Angle it away from you. Use the blower six inches out. Give short puffs.
This lifts dry dust best. Glossy wet surfaces respond quick. Avoid mouth blowing. Saliva adds moisture.
Repeat from different angles. Watch particles fly. Most spots clear fast.
Brush Gently in the Paint’s Direction
Pick your soft brush. Hold it perpendicular to canvas. Stroke feather-light.
Follow paint flow. Go from clean areas to dirty. This pushes debris out.
For oils, shake brush dry first. Watercolors need even lighter touch. Clean brush between passes. Rinse if needed, then dry fully.
Check often under light. Stop when clear. Patience keeps strokes even.
Tackle Sticky or Larger Debris with Precision
Spot a stubborn bit? Use toothpick edge to lift. Never poke center.
For wet flecks, dab cloth corner dry first. Pat, don’t rub. If stuck, let paint firm up a bit. Retry soon.
Pro tip: Mask around with paper. This protects nearby paint. Isolate and win.
Steer Clear of These Artist Traps That Wreck Paintings
Artists learn hard ways. One rubbed a cloth over dust. It smeared reds into blues. Another blasted canned air too hard. Debris scattered everywhere.
Water on oils dissolves layers. Fingers add skin oils that repel paint. These traps happen fast.
Know when to stop. If unsure, cover and wait. Partial dry often helps. Quick fixes beat total loss.
Rubbing Instead of Dabbing Risks Everything
Rubbing grinds debris in. Friction mixes pigments forever.
Dab with cloth edge instead. Pat lightly. Lift straight up. This keeps layers clean.
Practice on scraps. Feel the difference. Your paintings thank you.
Shield Future Masterpieces from Dust and Debris
Prevent beats fix every time. Run an air purifier in your studio. It traps floating bits.
Cover wet works with a clean box. Dust floors before sessions. Wear fresh clothes or smock.
Prep canvas with tack cloth. Wipe pre-paint. Set drying spots in clean zones.
These habits save hours. Consistent care means less stress. Your art stays pristine.
Build routines now. Enjoy painting more. Future you will smile.
Most wet paint issues stem from haste. Assess debris first. Grab gentle tools. Blow loose bits. Brush along the flow. Use precision for tough spots.
Beginners nail this easy. Practice on test swatches. You’ll save pieces often.
Share your close calls in comments. What tool saved your work? Subscribe for more tips. Pin this for studio reference. Keep creating without worry.