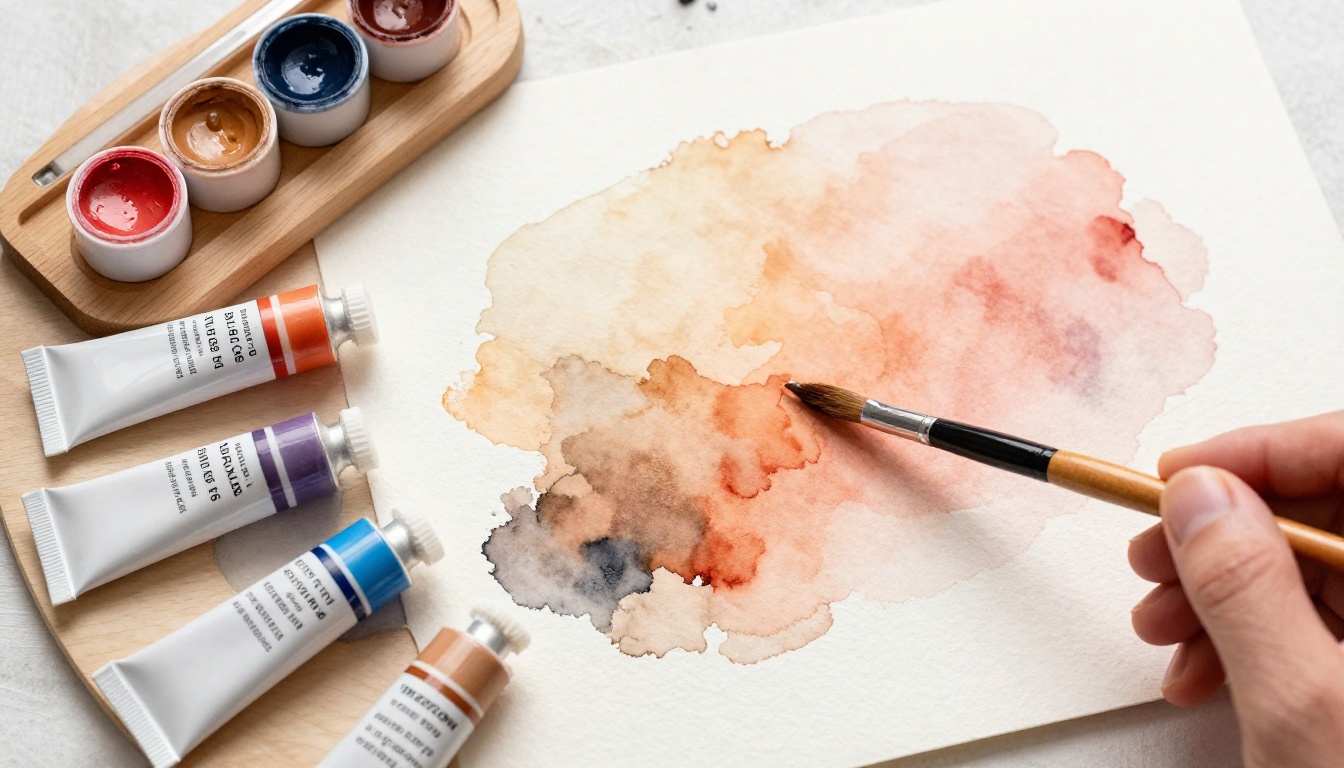
You mix a batch of skin tone paint. It looks perfect wet. Then it dries flat and fake. Real skin glows with warmth, cool shadows, and subtle shifts. Jars labeled “flesh” rarely match anyone. They miss the yellows, reds, and blues in every tone.
A limited palette changes that. You use just five or six colors. They build fair peaches, olive tans, deep browns. No waste on extra tubes. Your paintings stay unified because the same hues tie everything. This method works for oils, acrylics, or watercolors. You’ll save money and gain confidence.
In the sections ahead, you’ll pick colors, follow steps, and avoid pitfalls. Practice once, and you’ll mix realistic tones fast. Ready to make skin come alive on your canvas?
Grasp the Basics of What Makes Skin Look Real
Skin fools us. We see brown or pink. In truth, it holds layers of color. Yellow undertones dominate fair types. Reds warm cheeks. Blues cool shadows. These mix for life-like results. A limited palette shines here. It forces clean blends. No overload muddies your work.
Value matters too. Light skin stays pale overall. Dark skin shifts deeper. Saturation stays low. Skin rarely pops bright. Light bounces off foreheads warmer than necks. Everyday sun on your arm proves it. Highlights gleam yellow-red. Shadows hint purple.
Melanin spreads these hues. Fair skin reflects more light. Dark skin absorbs it. Yet all types share core colors. Start simple. Notice your hand under a lamp. See the shifts? That’s your guide.
Spot the Hidden Colors in Every Skin Type
Core paints reveal skin secrets. Grab titanium white for highlights. Cadmium yellow brings warmth. Alizarin crimson adds flush. Ultramarine blue cools edges. Burnt sienna grounds mid-tones.
Fair skin needs mostly white. Mix 70% white, 20% yellow, 10% crimson. It glows peachy. Tan skin balances yellow and sienna. Add 10% blue for depth. Deep tones lean on sienna, crimson, blue. White tints just highlights.
These five handle most. They overlap. No gaps. Test on paper. See how yellow fights gray. Crimson warms fast.
See How Light and Shadow Change the Mix
Light source alters everything. Daylight adds cool blues to highlights. Indoor lamps warm with yellow. Shadows deepen opposite. A blue-violet hint fits most.
Your palette adapts easy. Ultramarine shifts highlights cooler. Sienna warms shadows. Temperature sells realism. Cheeks flush redder than foreheads. Neck shadows purple.
Squint at a photo. Values stack first. Colors second. Limited mixes excel. They stay subtle. Overmixing kills glow.
Choose Your Go-To Colors for Endless Skin Variety
Pick five starters. Titanium white lifts value. Yellow ochre warms gently. Cadmium red light flushes cheeks. Ivory black darkens clean. Viridian green neutralizes mud.
These echo Zorn palette. Artists love it for portraits. White, yellow ochre, red, black. Add viridian for greens in veins. It grays without dirt.
Fair skins favor ochre and white. Olive mediums need green touches. Deep browns stack black, red, sienna swap. Test scraps first. Swatch dry. Adjust.
Brands vary. Winsor Newton holds mix well. Liquitex dries fast in acrylics. Stick to student grade. Save cash.
Tailor Colors for Light, Medium, and Dark Skins
Light skin starts heavy white. Blend 60% white, 30% yellow ochre, 10% red. Pinch crimson for blush.
Medium tones even out. 40% yellow ochre, 30% red, 20% burnt umber, 10% white. Green dash cuts brass.
Dark skins layer umbers. 50% burnt umber, 20% ultramarine, 20% crimson, 10% black. White only tops.
Green fixes yellow overload. Blue cools reds. Ratios flex per light.
Test and Tweak for Your Painting Style
Swatch wet and dry. Oils blend smooth. Acrylics lighten on dry. Watercolors stain fast. Add water early.
Paint a thumb. Check values. Too warm? Green hint. Too cool? Red speck. Scrap paper wastes nothing.
Medium shifts mixes. Oils forgive sloppy blends. Acrylics need thin layers. Note your tests. Build a cheat sheet.
Mix Step by Step for Spot-On Results
Start mid-tone. It anchors values. Use palette knife. Clean edges prevent mud. Small batches save paint.
Eye your subject. Fair cheek? Base warm. Deep jaw? Cooler start. Layer from there. Proportions guide you.
Build slow. Highlights pop last. Shadows deepen planes. Clean knife each time.
Build a Base Tone That Matches Any Skin
Mix mid-value first. Half yellow ochre, quarter red, quarter umber. Smear thin. Check against photo.
Light areas get white plus yellow. Dark spots take blue or black. Stir full. No streaks.
Glaze if needed. Thin mix veils color. Base sets stage.
Layer Highlights and Shadows Like a Pro
Highlights mix white, yellow, red speck. Apply forehead, nose. Blend soft edges.
Shadows blend umber, blue, black trace. Jaw, under eyes. Feather out. No harsh lines.
Over-saturate kills life. Tiny hue shifts rule.
Handle Tricky Areas Like Lips and Ears
Lips crave red boost. Base plus crimson. Gloss with white glaze.
Ears cool fast. Shadow veins blue-green. Cartilage yellows light.
Freckles dot orange-red. Veins peek blue. Small brush nails them.
Dodge Common Traps and Boost Your Blends
Black overkills. It grays skin dead. Use complements instead. Red plus green dulls right.
Ignore undertones? Mixes lie flat. Squint checks values. Paint life or photo. Daily practice sticks.
Squint often. It strips color noise.
Fix Muddy Mixes in Seconds
Mud means excess complement. Green overload? Red speck. Scrape palette. Restart small.
Wipe canvas wet. Fresh layer covers. Neutralize fast.
Practice Drills to Make It Second Nature
Swatch tones daily. Ten minutes. Light to dark scale.
Copy Rembrandt portrait. Match his limited mixes. Track sheet shows gains.
Photo self-portrait weekly. See progress build.
Mastering a limited palette unlocks realistic skin tones. You start with white, ochre, red, black, green. Build mid-bases, layer lights darks. Dodge mud with tweaks.
One artist mixed her first portrait this way. Jars gathered dust. Her skin glowed true. Now she paints commissions easy.
Grab paints now. Mix one tone. Test on scrap. Share your swatch in comments. What skin type trips you? Try the drills. Your next painting waits.